
Oikein asennettujen etujalkapelottien käyttö on ratkaisevan tärkeää parhaan mahdollisen tuen ja mukavuuden saavuttamiseksi. Tältä sivulta löydät yksinkertaisen vaiheittaisen oppaan – sekä tekstinä että videona – jotta voit turvallisesti asentaa pelotteesi itse kotona. Riippumatta siitä, oletko tottunut siihen vai et, ohjaamme sinut oikeaan sijoitteluun ja asentamiseen optimaalisen vaikutuksen saavuttamiseksi.
Mitkä ovat etujalkapelotit?
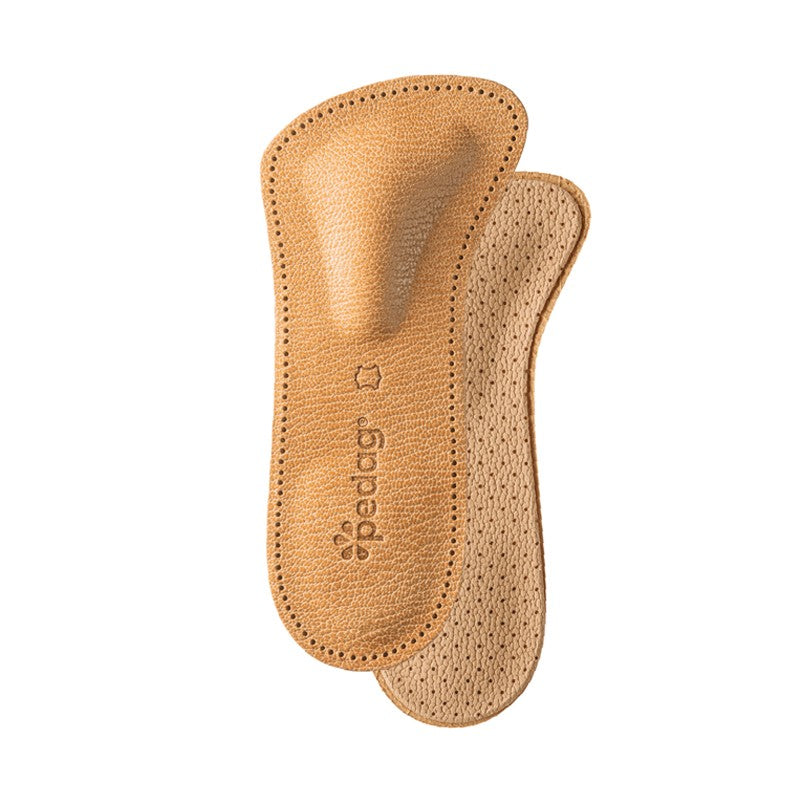
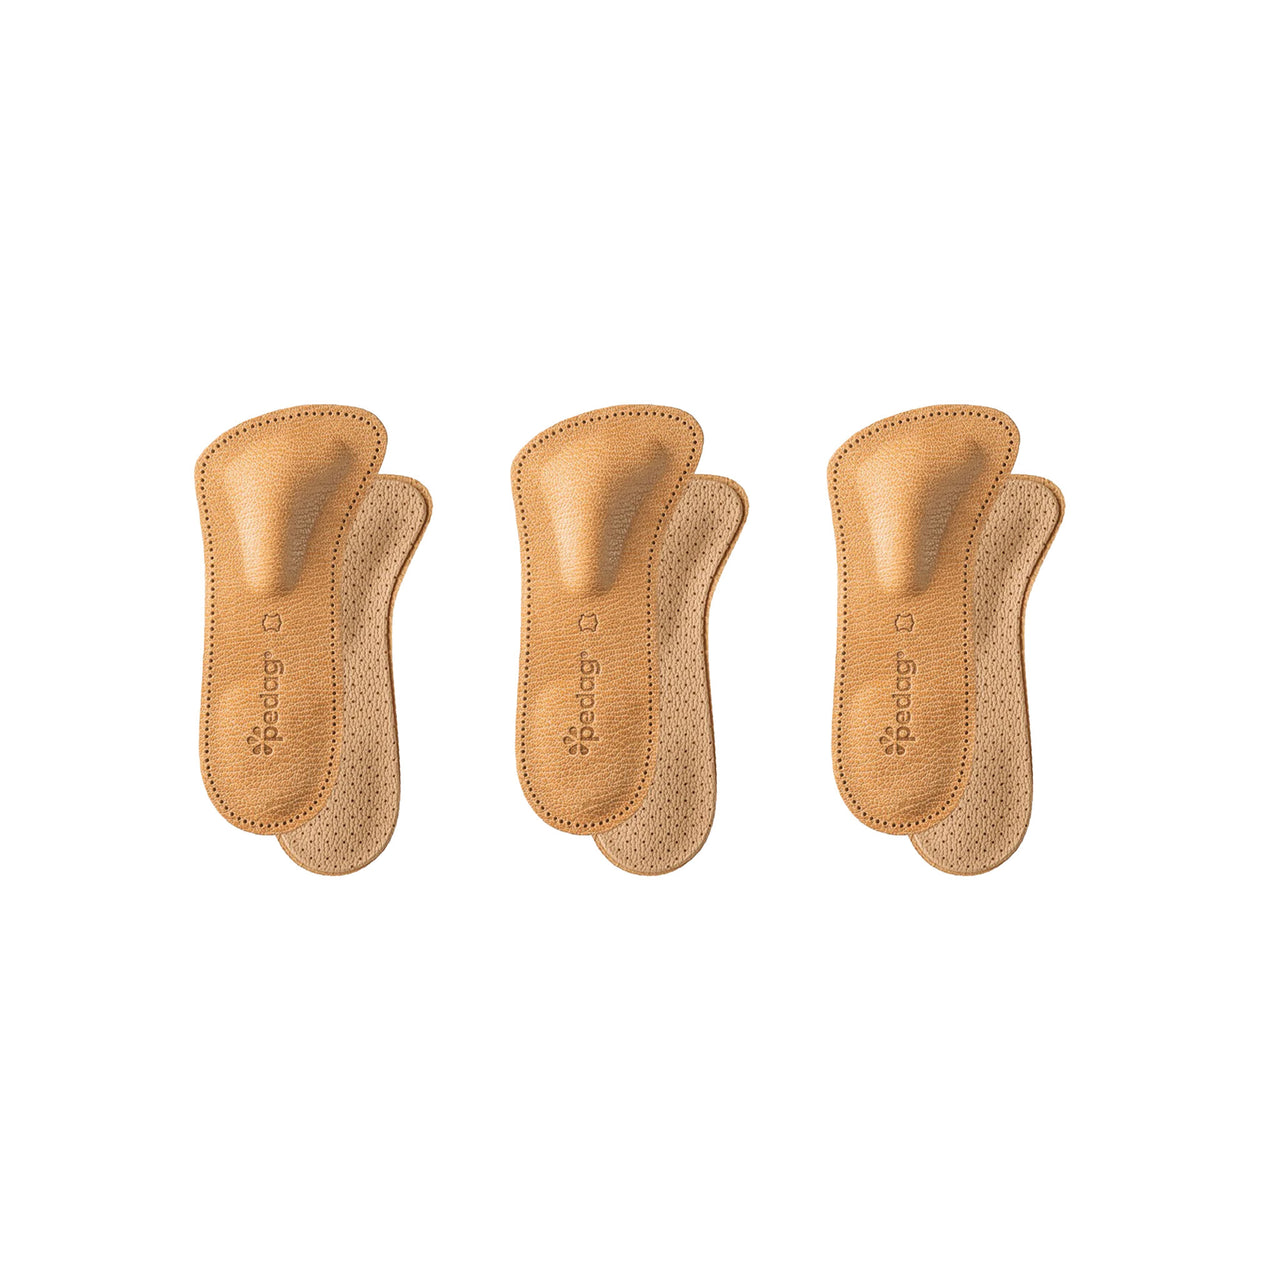
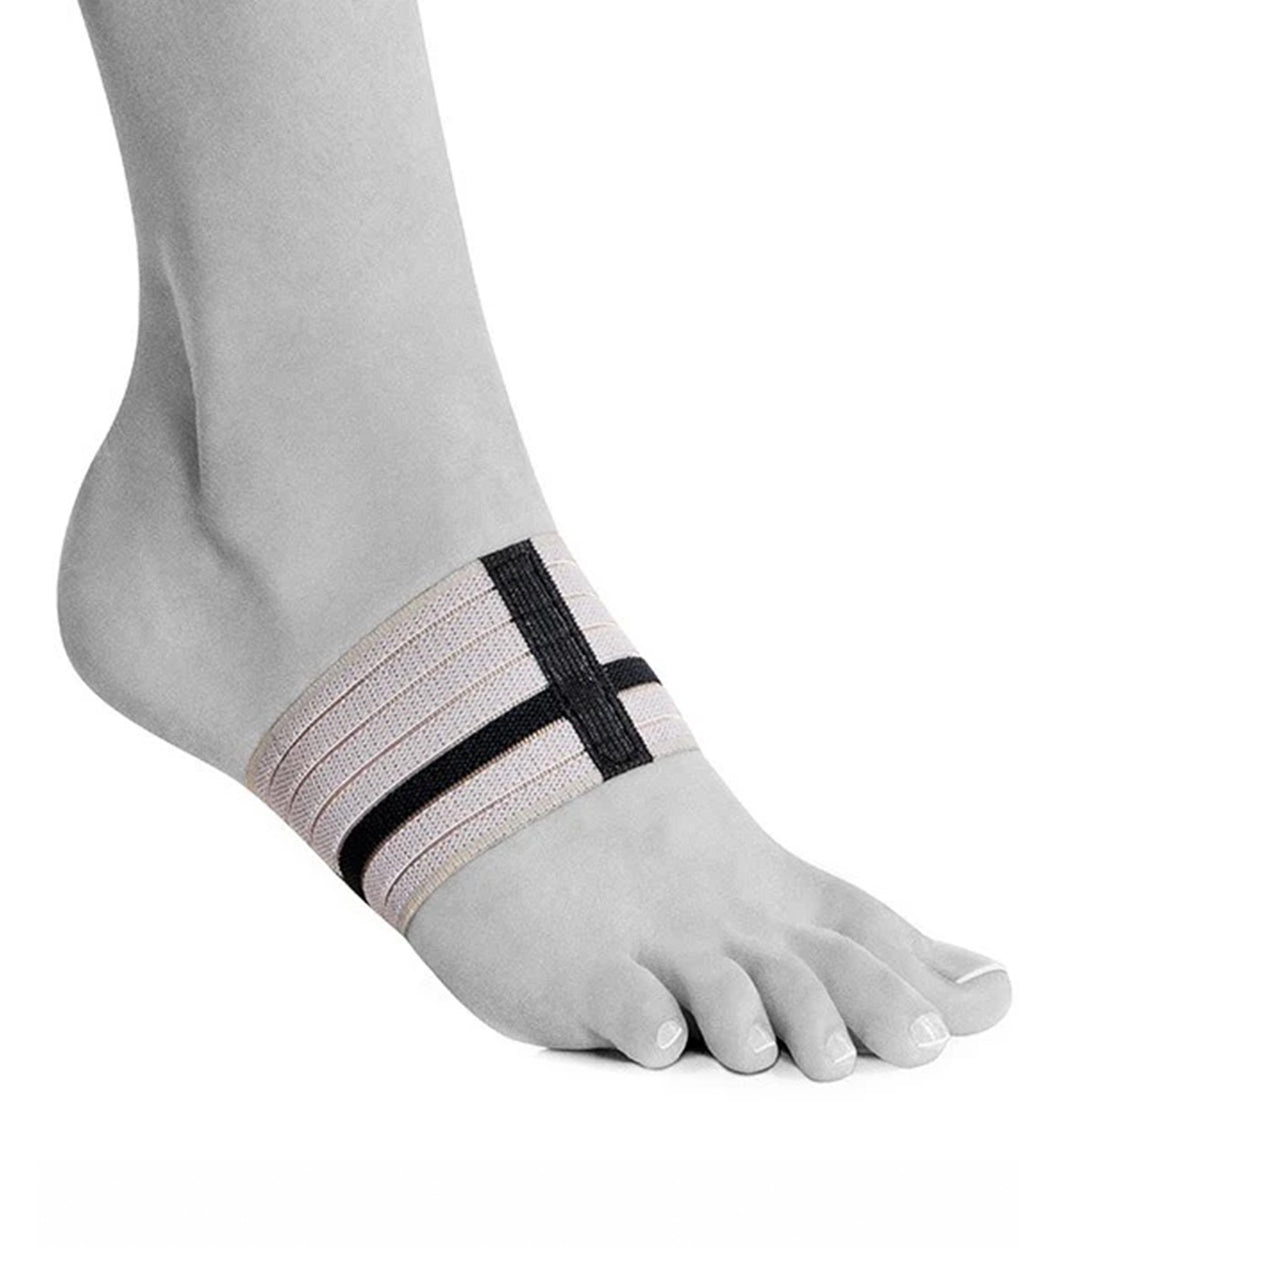
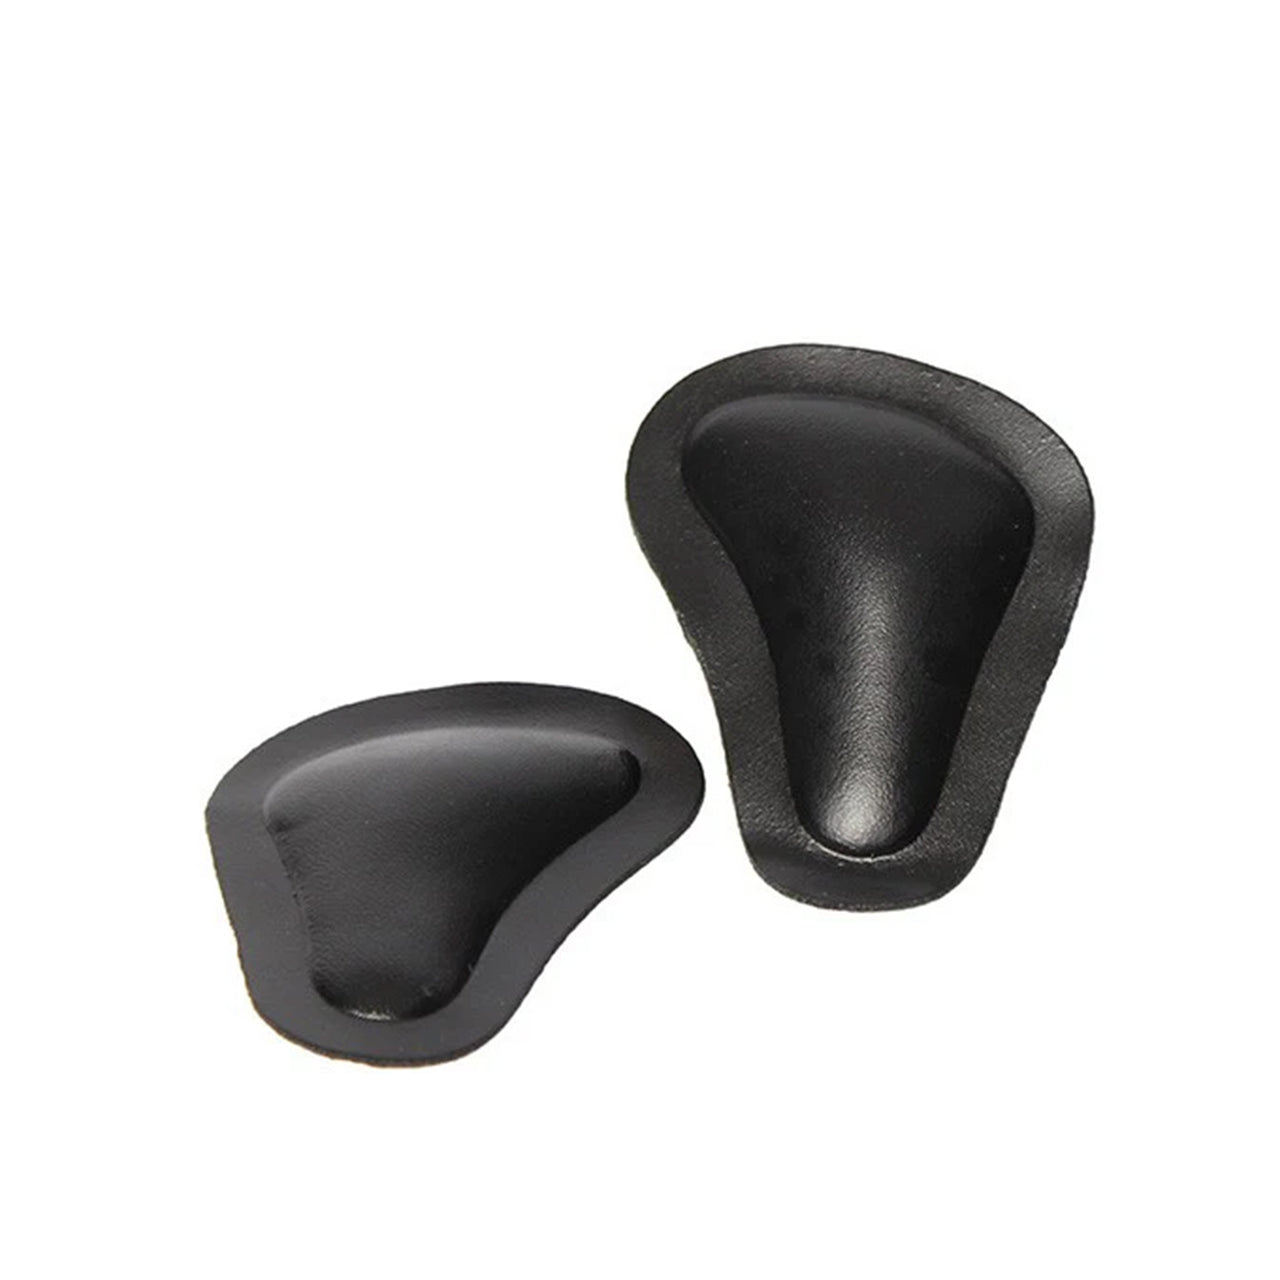
Pelotti on pieni tyyny, joka asetetaan kenkiin tukemaan jalkapohjan keskiosaa, juuri varpaiden takana. Se auttaa nostamaan niin kutsuttua etujalan kaarta, jolloin se vähentää painetta etujalalla.
Pelotteita käytetään usein vaivoihin, kuten Mortonin neuroomaan, etujalan kaaren romahtamiseen tai yleiseen kipuun jalkapohjassa.
Asennusohjeet – vaihe vaiheelta
Tarvitset seuraavat:
- A4-paperia
- Kynä
- Mittanauha
Toimi näin:
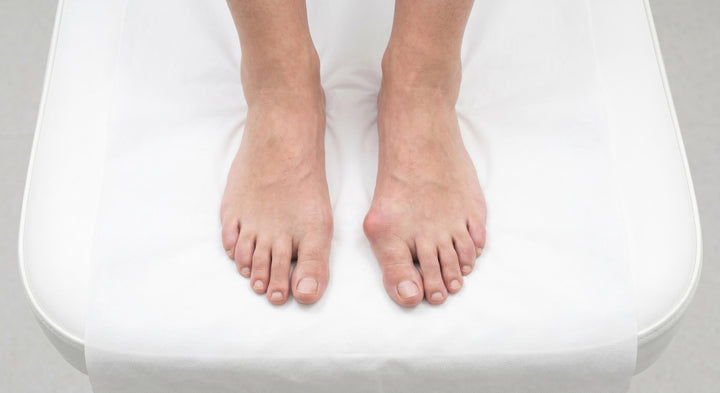
- Aseta jalka A4-paperille ja merkitse isovarpaan (A) ja pikkuvarpaan (B) tyvinivel kuvan 1 mukaan.
- Pidä jalka paperilla ja merkitse kantapään päättymiskohta (C)
- Poista jalka paperilta.
- Yhdistä merkinnät A ja B viivalla. Merkitse samalla viivan keskikohta (D) A:n ja B:n väliin. Viiva tulee olemaan vinossa, koska pikkuvarpaan nivel on lähempänä kantapäätä kuin isovarpaan nivel.
- Mittaa etäisyys viivasta kantapäällä (C) kohtaan D.
- Mittaus (esim. 16,5 cm) vastaa pelotin etureunaa asennettaessa. Merkitse mittaus viivalla kenkään tai pohjaan ja asenna pelotti viivan mukaan kuvan 3 mukaan.
Oikein asennettu pelotti tuntuu aluksi aina bumpilta kengässä. Monet kokevat myös, että pelotti on suoraan jalan alla, liian kaukana takana. Ohjeidemme mukaan asennetut pelotit sijaitsevat oikeassa paikassa ilman, että ne koskettavat etukaarta parhaan nostavan ja tukevan vaikutuksen saavuttamiseksi.

Sisällöstä – asiantuntevasti arvioitu fysioterapeutin toimesta
Tavoitteemme on tarjota selkeää, käytännöllistä ja luotettavaa tietoa terveydestä, liikunnasta ja ortopedisista apuvälineistä. Kaikki blogikirjoituksemme perustuvat todistettuun tietoon ja arvioi laillistettu fysioterapeutti Idamme varmistaakseen, että neuvot ovat turvallisia, ajankohtaisia ja relevantteja.
Voisit myös haluta lukea
- Löydä oikea kaarenkorkeus – näin valitset pohjalliset, jotka sopivat jaloillesi
- Viisi vinkkiä tehokkaaseen harjoitteluun harjoitusnauhojen kanssa
- Paranna ryhtiäsi ryhtitukien avulla
Liittyvät vammat
Löydä oikea tuki tarpeisiisi
Tarvitsetko apua oikean tuotteen valitsemisessa? Käytä suodattimiamme lajitellaksesi vamman, kehonosan tai urheilun mukaan – tai keskustele AI-assistenttimme Eirin kanssa, joka voi auttaa sinua ympäri vuorokauden. Voit myös saada henkilökohtaista neuvontaa laillistetulta fysioterapeutiltamme Idalta sähköpostitse tai puhelimitse, jos haluat asiantuntevaa tukea valinnassasi.